
03PRODUCT PROCESS
Separate and recover grease at the kitchen source.
Follow seven stages from system readiness and wastewater collection to separation, recovery and discharge.
COMPLETE KITCHEN DRAINAGE SYSTEM
Four wastewater sources are treated before the downstream sediment trap
Select equipment or scrub the timeline to trace four wastewater sources, the built-in cup and downstream sediment trap. This is a process diagram, not a site-level drawing.
An integrated pump lifts mop-sink water; choose downstream drainage to suit the site.
Separate first, run simpler
Compare installation, grease collection and maintenance. Actual performance and cost depend on the model and site.
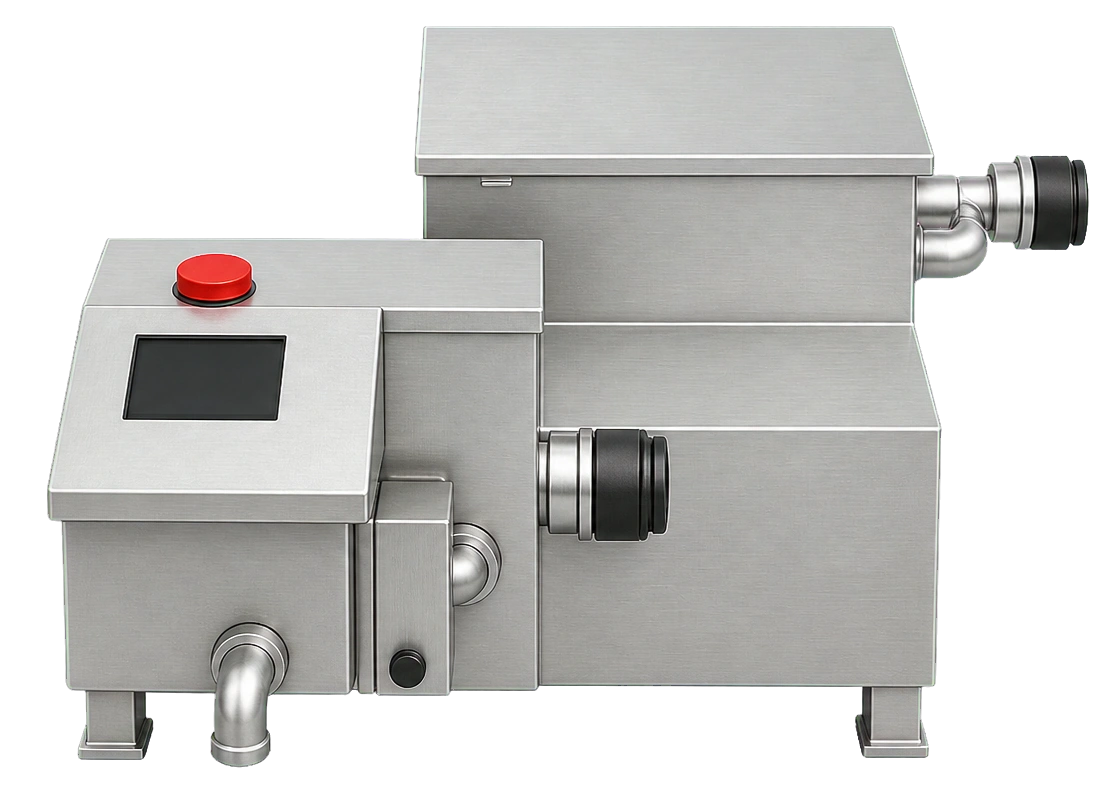
Inlet
Greasy kitchen wastewater enters through the inlet connection.
Functional illustration, not an engineering drawing. Final configuration is subject to site selection.
REAL PRODUCT FUNCTION PATH
Explore each part, from inlet to grease recovery.
Select inlet, treatment, control, recovery or outlet to focus the exact part and its path.
MODELS AND DAILY USE
Match flow and space first, then keep daily care simple.
The dimensions below come from the current product sheet. Levels, connections and service access still require a site review.
618 × 357 × 400 mm
820 × 357 × 430 mm
1100 × 370 × 440 mm
1450 × 370 × 460 mm
Empty the wet-waste basket
Open the lid and remove intercepted larger residue.
Collect separated grease
Check the built-in grease cup; remove and transfer collected grease under site procedures.
Rinse inspection areas
Keep inspection areas and access to the built-in grease cup clean.
Check power and drainage first
Follow the product instructions for shutdown and safe isolation before contacting service.